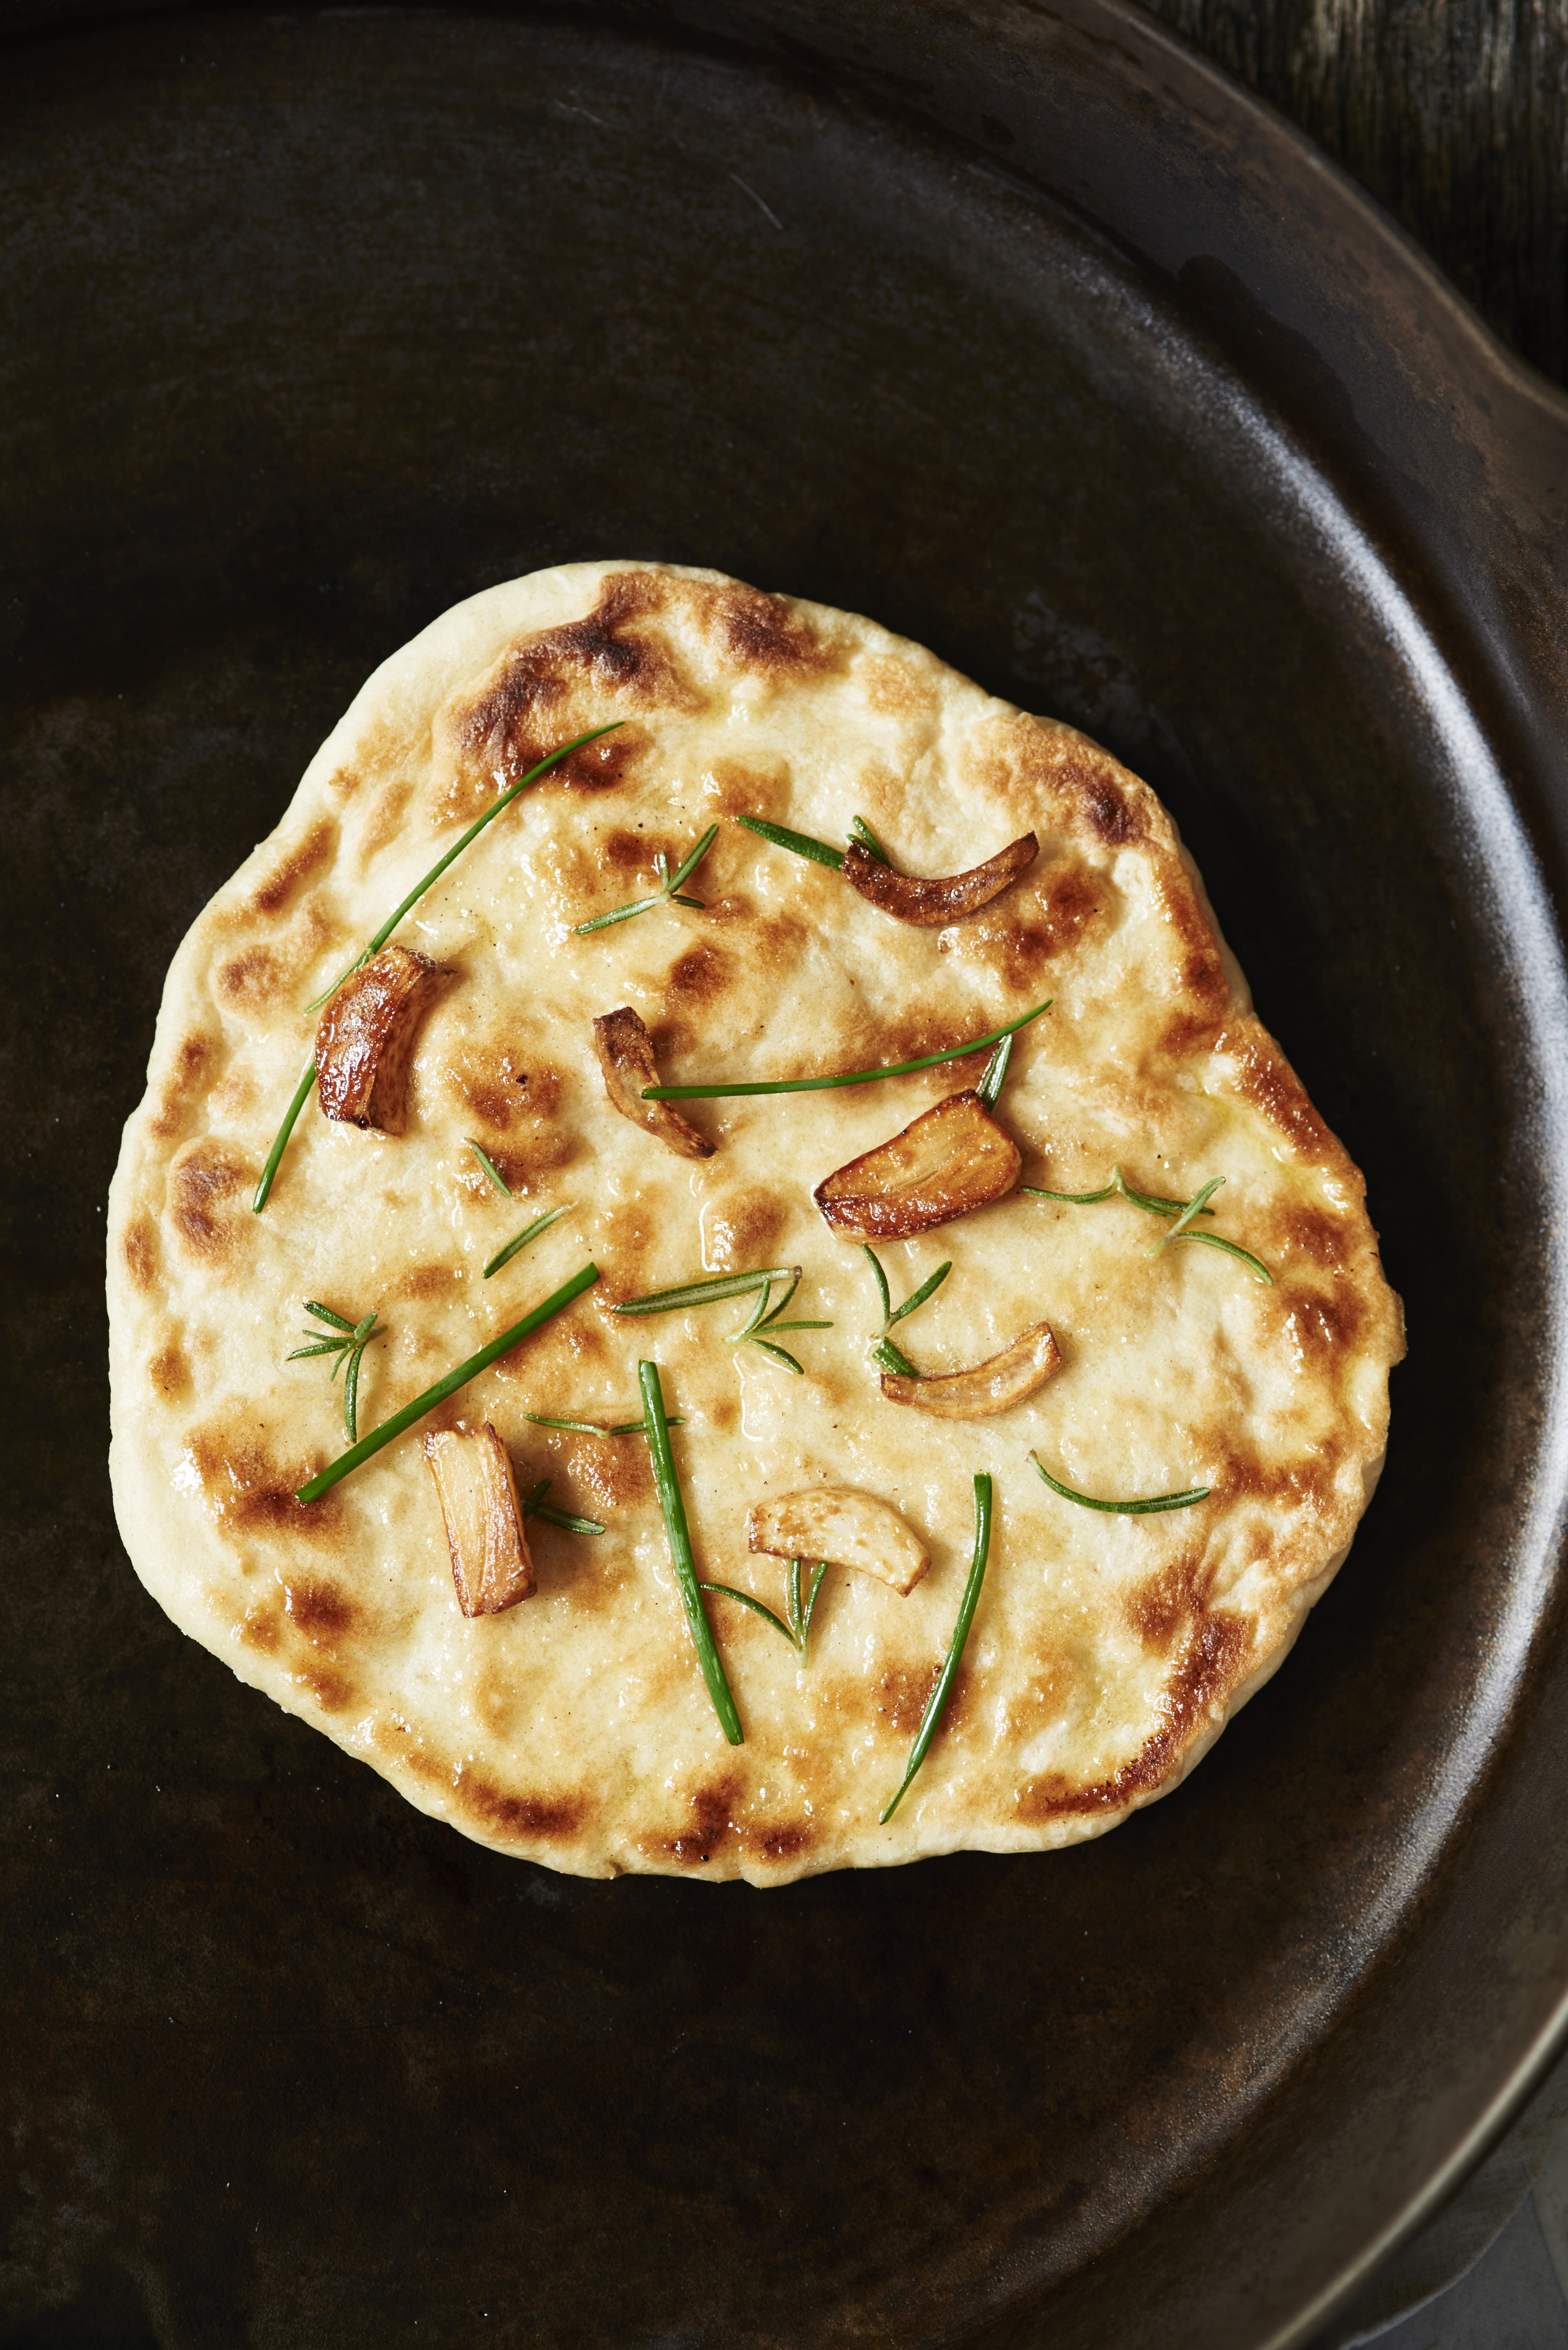
Stovetop Naan with Fresh Herbs and Garlic
Living a year in England gave me a love of Indian food that would last all my life. But I never thought I could create my own naan, the yeast-risen flatbread essential to Indian cuisine... until I pulled out the iron skillet .
Naan dough is only a simple flour mixture moistened by yogurt that needs a really hot surface to cook. It seemed natural to let the skillet mimic the floor of the tandoori oven. And so, I set to work.
Naan is an old Indian bread, and some people believe it originally came from Persia (Iran). Because it contained yeast and a good bit of technique to pull off, it was considered a bread of the wealthy and royal households. Thus you see all the elaborate naan fillings on the menu at Indian restaurants. Fruits, coconut, meat, anything can be added to naan when your budget allows it. Today, we can make a much simpler version in our own kitchens.
This recipe makes about a dozen, so save this for parties where Indian or grilled foods with nice sauces are served. Flatbreads like naan seem to capture and soak up all the delicious flavors on the plate. Or, they can be served as a snack or appetizer with hummus. Yum!
STOVETOP NAAN WITH FRESH HERBS AND GARLIC RECIPE:
Makes: 12 to 15 naan | Prep: 20 to 25 minutes | Rise: 1 1/2 hours | Cook: 2 to 3 minutes, per batch
1/4 cup warm water
1 package (.25 ounces; 2 1/4 teaspoons) active dry yeast
1 tablespoon sugar
4 cups unbleached all-purpose flour
1 teaspoon baking powder
1 teaspoon baking soda
3/4 cup (6 ounces) whole milk, at room temperature
1/2 cup (4 ounces) plain full-fat yogurt
Vegetable oil for oiling your hands and bowl
Flour for dusting the work surface
4 tablespoons melted butter or olive oil
4 cloves garlic, peeled and sliced
2 tablespoons roughly chopped fresh herbs (rosemary, thyme, oregano)
Kosher salt, for sprinkling
Measure the water into a 1-cup glass measure. Stir in the yeast and sugar until dissolved. Set the yeast mixture aside to bubble up, about 6 to 8 minutes.
Place the flour, baking powder, and soda in a large bowl, and whisk to combine. Make a well in the center of the flour mixture, and add the yeast mixture, milk, and yogurt. Stir with a wooden spoon until the mixture comes together. With oiled hands, knead the dough until it becomes a smooth ball, about 3 to 4 minutes. Brush vegetable oil in a large bowl, and turn the dough into it. Cover with plastic wrap, and place the bowl in a warm place until the dough has doubled in size, about 1 1/2 hours.
Punch down the dough with your fist, and turn the dough out onto a lightly floured work surface. Knead it lightly and divide into 12 to 15 equal pieces. Roll each piece with a small rolling pin, dusted with flour, until it is about 1/4-inch thick and about 6 to 7 inches across.
Place a 12-inch skillet over medium-high heat until it begins to smoke.
Brush each naan with melted butter or olive oil. Press the garlic slices into the dough. Place two or three naan at a time into the skillet. Cook over medium heat until the dough puffs up on top and is lightly browned on the side next to the pan, about 1 minute. Turn the naan. Sprinkle with a few fresh herbs. Cover the skillet, and cook about 1 to 2 minutes more. Remove the naan to a platter and drizzle with more melted butter or olive oil, if desired. Sprinkle with kosher salt. Repeat with the remaining naan.